While Oklahoma doesn’t have anywhere near the same level of brutal winters as our friends a few states to the north, we do have ice storms from time to time that effectively shut things down all across town. Such was the case recently when we all woke up to sheets of ice covering everything, and subsequently closing the public schools along with Oklahome State University and some other institutions too. That meant my wife and I could spend the day just kind of bumming around with our kids, and seeing what fun could be gleaned from the ice-covered outdoors right out our front door.
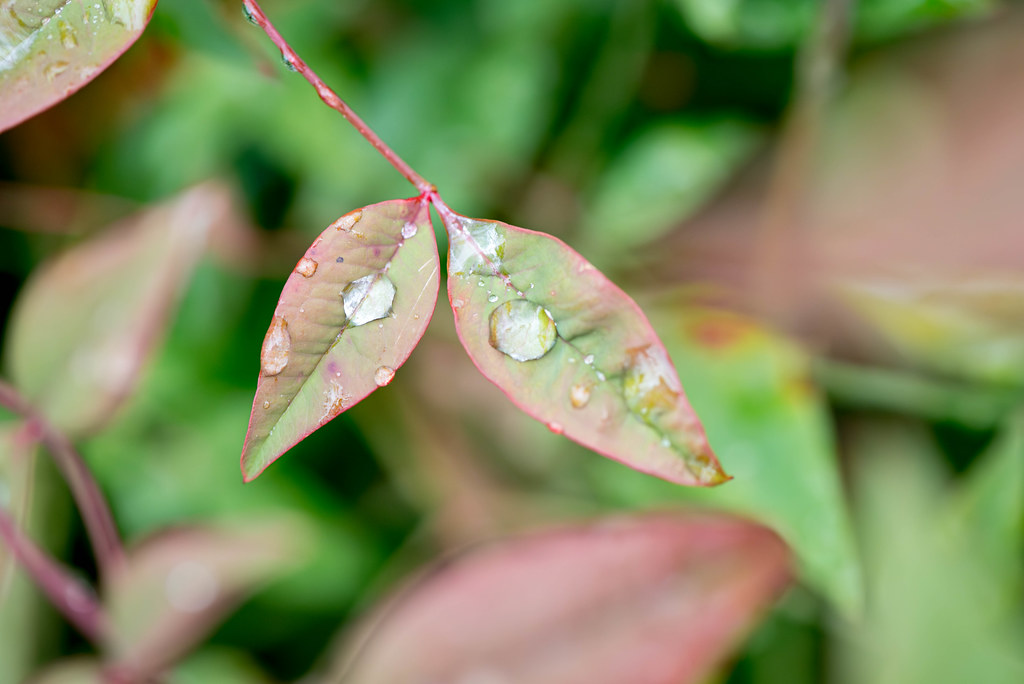
The thing about shooting pictures of nature in mid-January, at least where I live, is that there isn’t a whole lot of color. Everything is mostly just shades of dull brown and faded green, which means finding photo opportunities is a bit trickier than normal. Thankfully I was armed with my D750 and 105mm macro lens–the combo that has, in recent months, became my favorite kit for general creative photography. Basically when in doubt, just shoot up close :) It’s worked for me many times before, and it certainly worked here.
What you’re looking at is a single berry on one of our holly bushes outside the house, not only frozen in time in the form of a photograph but also, quite literally, just frozen right there under a coating of fresh ice. I shot this at f/8, partly so I could get a slightly larger depth of field but also so I could get the berry nice and sharp. I also dialed in -1 exposure compensation because I’ve learned that my D750 just can’t meter properly when shooting outdoors on a snowy or icy day. It almost always overexposes, so I just manually underexpose and then adjust in Lightroom if I really need to. I really wanted to get my tripod to help with this shot but ended up doing it handheld, mostly because I just didn’t feel like going to the trouble. I do think it would have been worth it though, and probably serves as a lesson for what to do next time. Not that I’m looking forward to the next ice storm, but hopefully when it arrives I’ll be prepared :)