In some ways this is a photo I have been thinking about for a long time. Years, in fact. Not this photo exactly, but some kind of composition involving the two artificial flowers you see here has been on my list of images to take for a good long while. My wife has had these two floral decorations, which she got from a longtime friend, adorning one of the rooms in our house for so long I can’t recall ever not having them around. I always enjoyed their simple design, translucent colors, and delicate elegance and almost every time I see them I think Hey, I should take a cool photo of these someday. And, as most people might expect, someday just never quite arrive. Until recently, that is.
The question that I always thought about when looking at these flowers was not necessarily how to take a photo of them, but how to take a cool photo of them. Anyone can point a camera at something and press the shutter button, but how could I go about making an image of this daisy and tulip that was compelling, creative, unique, or otherwise elevated above the mundane? The answer, or at least an answer, came to me when my wife and I were sitting by the Christmas tree back in December. I know, I know, it’s now mid February which makes this image a bit out of date, but I guess I just wasn’t really ready to share it yet. I went back and forth on this one since it’s pretty similar to a few other shots I shared already, but at the end of the day…well, it’s my blog so I get to set the rules 😀
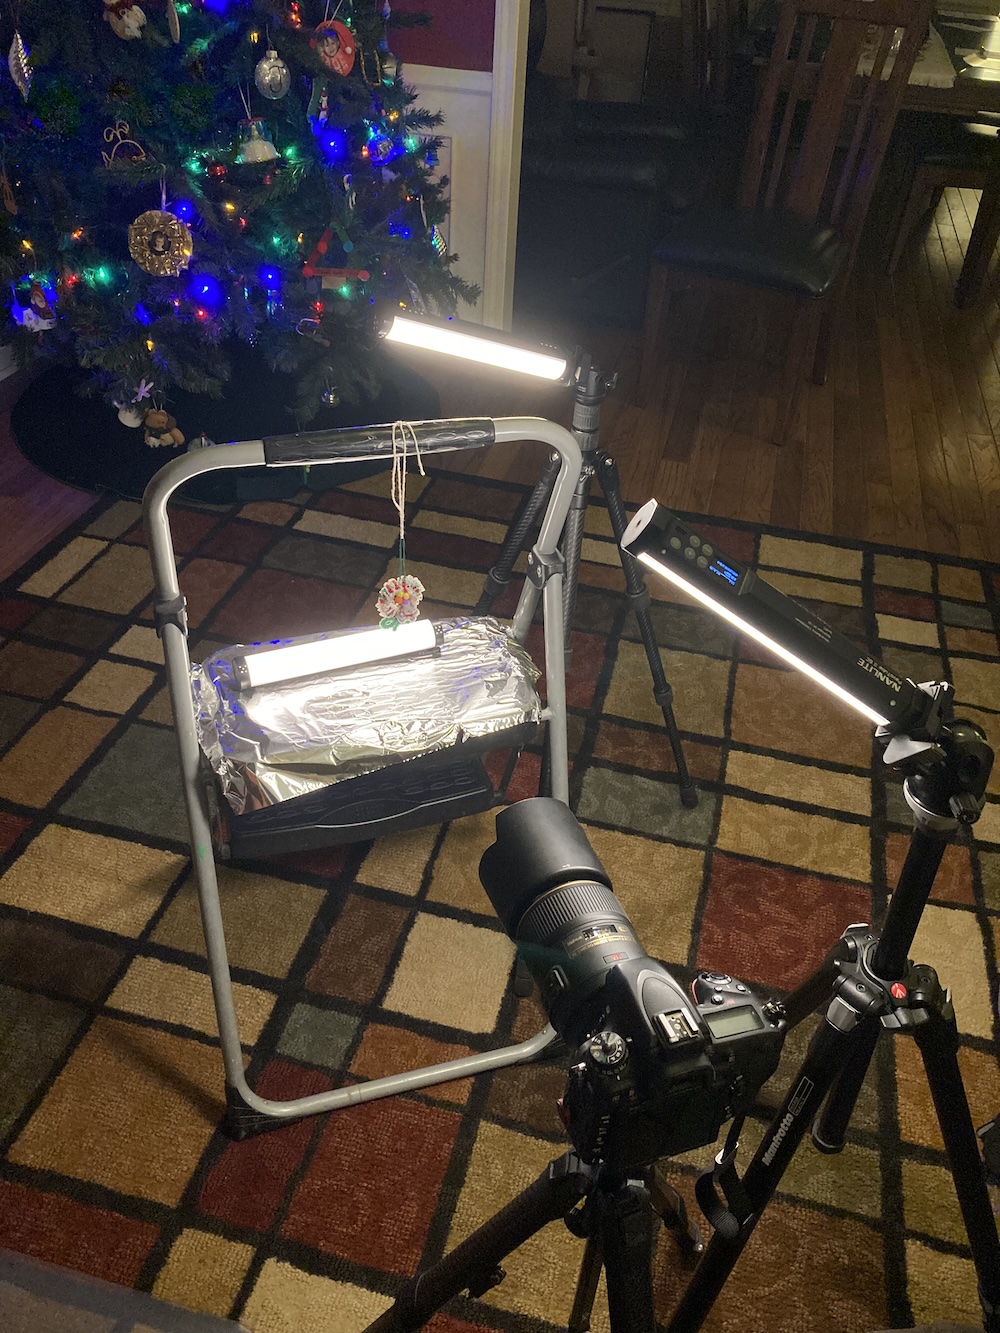
To get this shot I combined a few things I have been experimenting with lately: My macro lens, my Pavotube off-camera lights, and my knowledge of exposure, specifically depth of field, when shooting subjects a bit closer than normal. For a bit of context, here’s a behind-the-scenes look at this image:
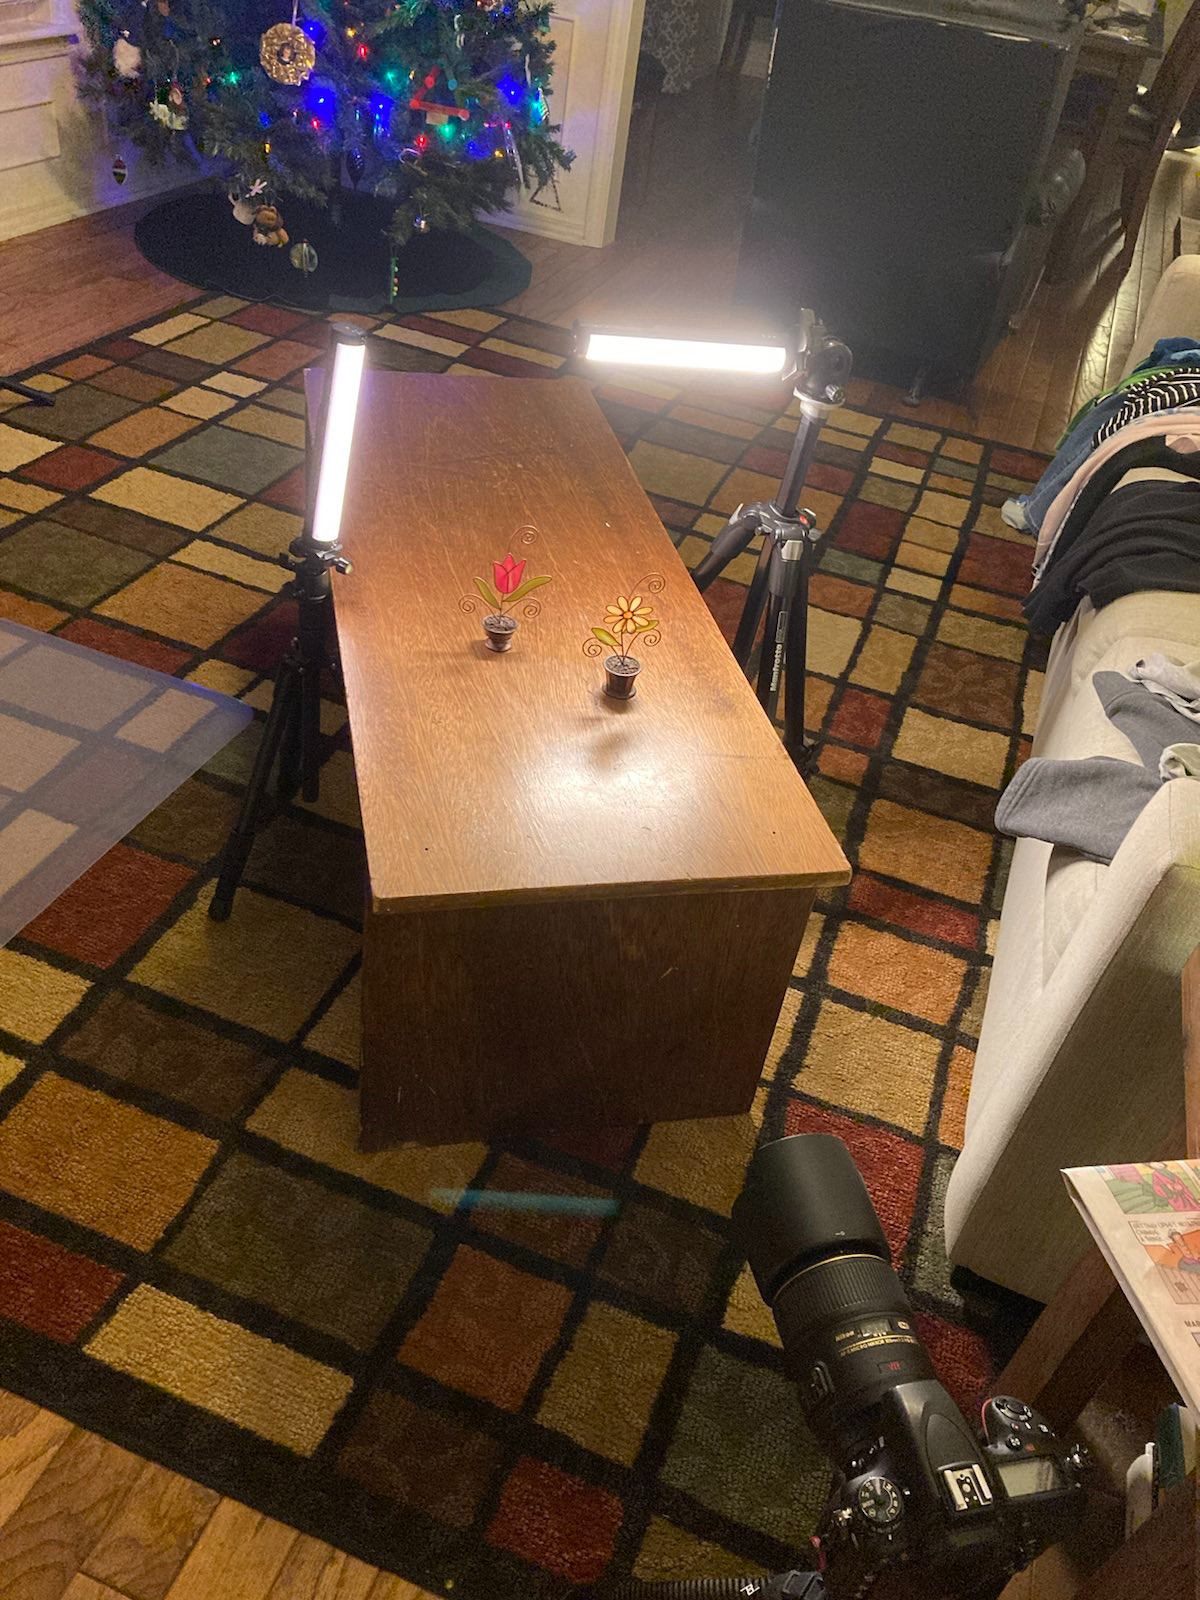
I’ve got my Nikon D750 and 105mm f/2.8 macro lens, two Pavotubes set to a color temperature of 2800K, and our Christmas tree in the background. I had the room lights turned off so the only illumination on each of the tulips was coming from the Pavotubes, and the trickiest part of the whole setup was figuring out where to place the tulip in relation to the daisy and even the tree lights. I eventually decided on what you see here, with the daisy in front and on the right and the tulip behind it and on the left, with the curly wisps positioned precisely in front of the green, blue, and red lights of the tree. Make no mistake: nothing about this image was accidental; the entire composition was created deliberately with careful attention being paid to exposure, subject, background, and lighting.
This was a super fun photo to create and even though it’s now outdated by several weeks, I’m really excited to share it anyway. Though maybe one could say that it’s right on time, with spring just around the corner and flowers like this about to start appearing in lawns and meadows across the midwest. Here’s to new beginnings and new opportunities, and the ability to create cool compositions with a camera and some lights.