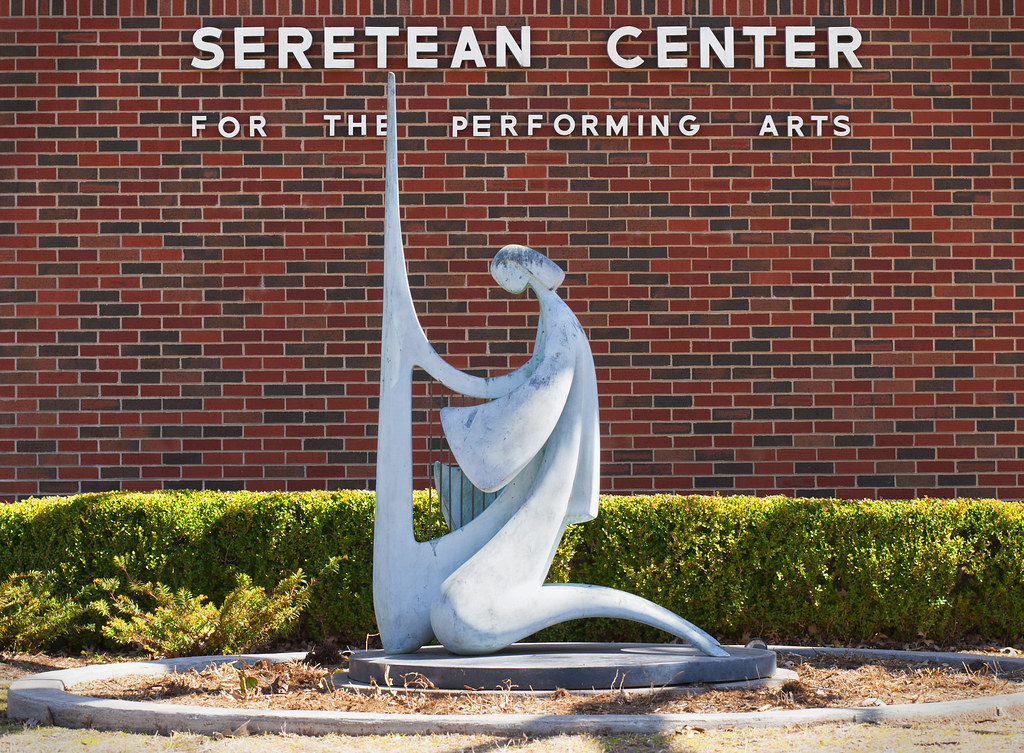
I walk past this statue on the way to my building at work, and finally stopped to take a picture when it was all nice and lit up from the right side. This was more of an exercise in Photoshop than photography, but I’m fairly happy with how it turned out so I thought I’d share it nonetheless. This also demonstrates the value of shooting in RAW, and for the sake of comparison you can view a small JPG version of the original image here. The statue is somewhat overexposed on the original, but since a ton of data is still available to work with on overexposed RAW images, this wasn’t really a problem (DPS explains this phenomenon in their article about exposing to the right). Basically, for the final image I isolated various parts of the image using different layers, and applied some correcting to each one in order to get the final picture the way I wanted it. I also fixed up a few blemishes in the bricks, using Photoshop’s ever-so-useful Clone Stamp tool. If I were to do the same alterations from a JPG source image, it would be impossible to get the same amount of detail in the final image, which is RAW can be so useful. For example, in the original image the knee portion of the statue is nearly white. If I had shot this in JPG, all I could do would be to make the knee look a little less bright. But since it was a RAW image, there was a ton of data collected by the camera that I was able to pull out in Photoshop.

Leave a Reply