Remember that scene in Star Wars: Episode IV when Grand Moff Tarkin ordered the destruction of Alderaan? It contained a few brief shots of the Death Star Control Room and for some reason those few seconds have always stuck with me. I really liked the idea of flipping levers and pushing buttons to activate such a massive device (though if it were me I don’t think I would have been able to go through with the annihilation of an entire world), and though the chances of me ending up on the Death Star to flip said levers and switches is somewhat remote, we have the next best thing at my job: video edit bays.
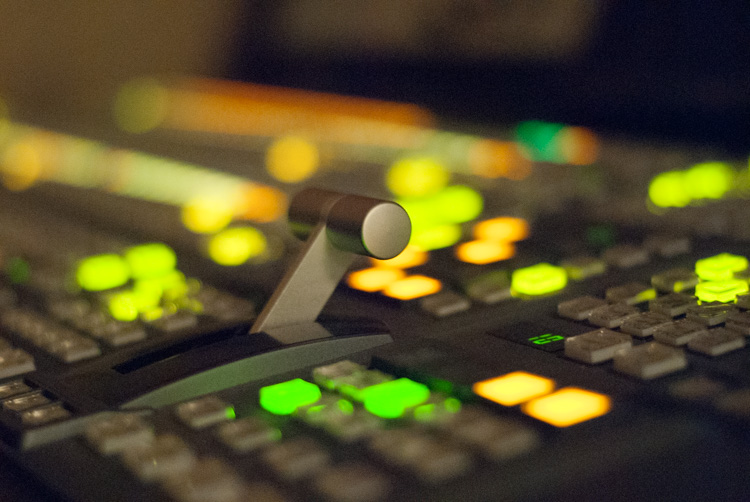
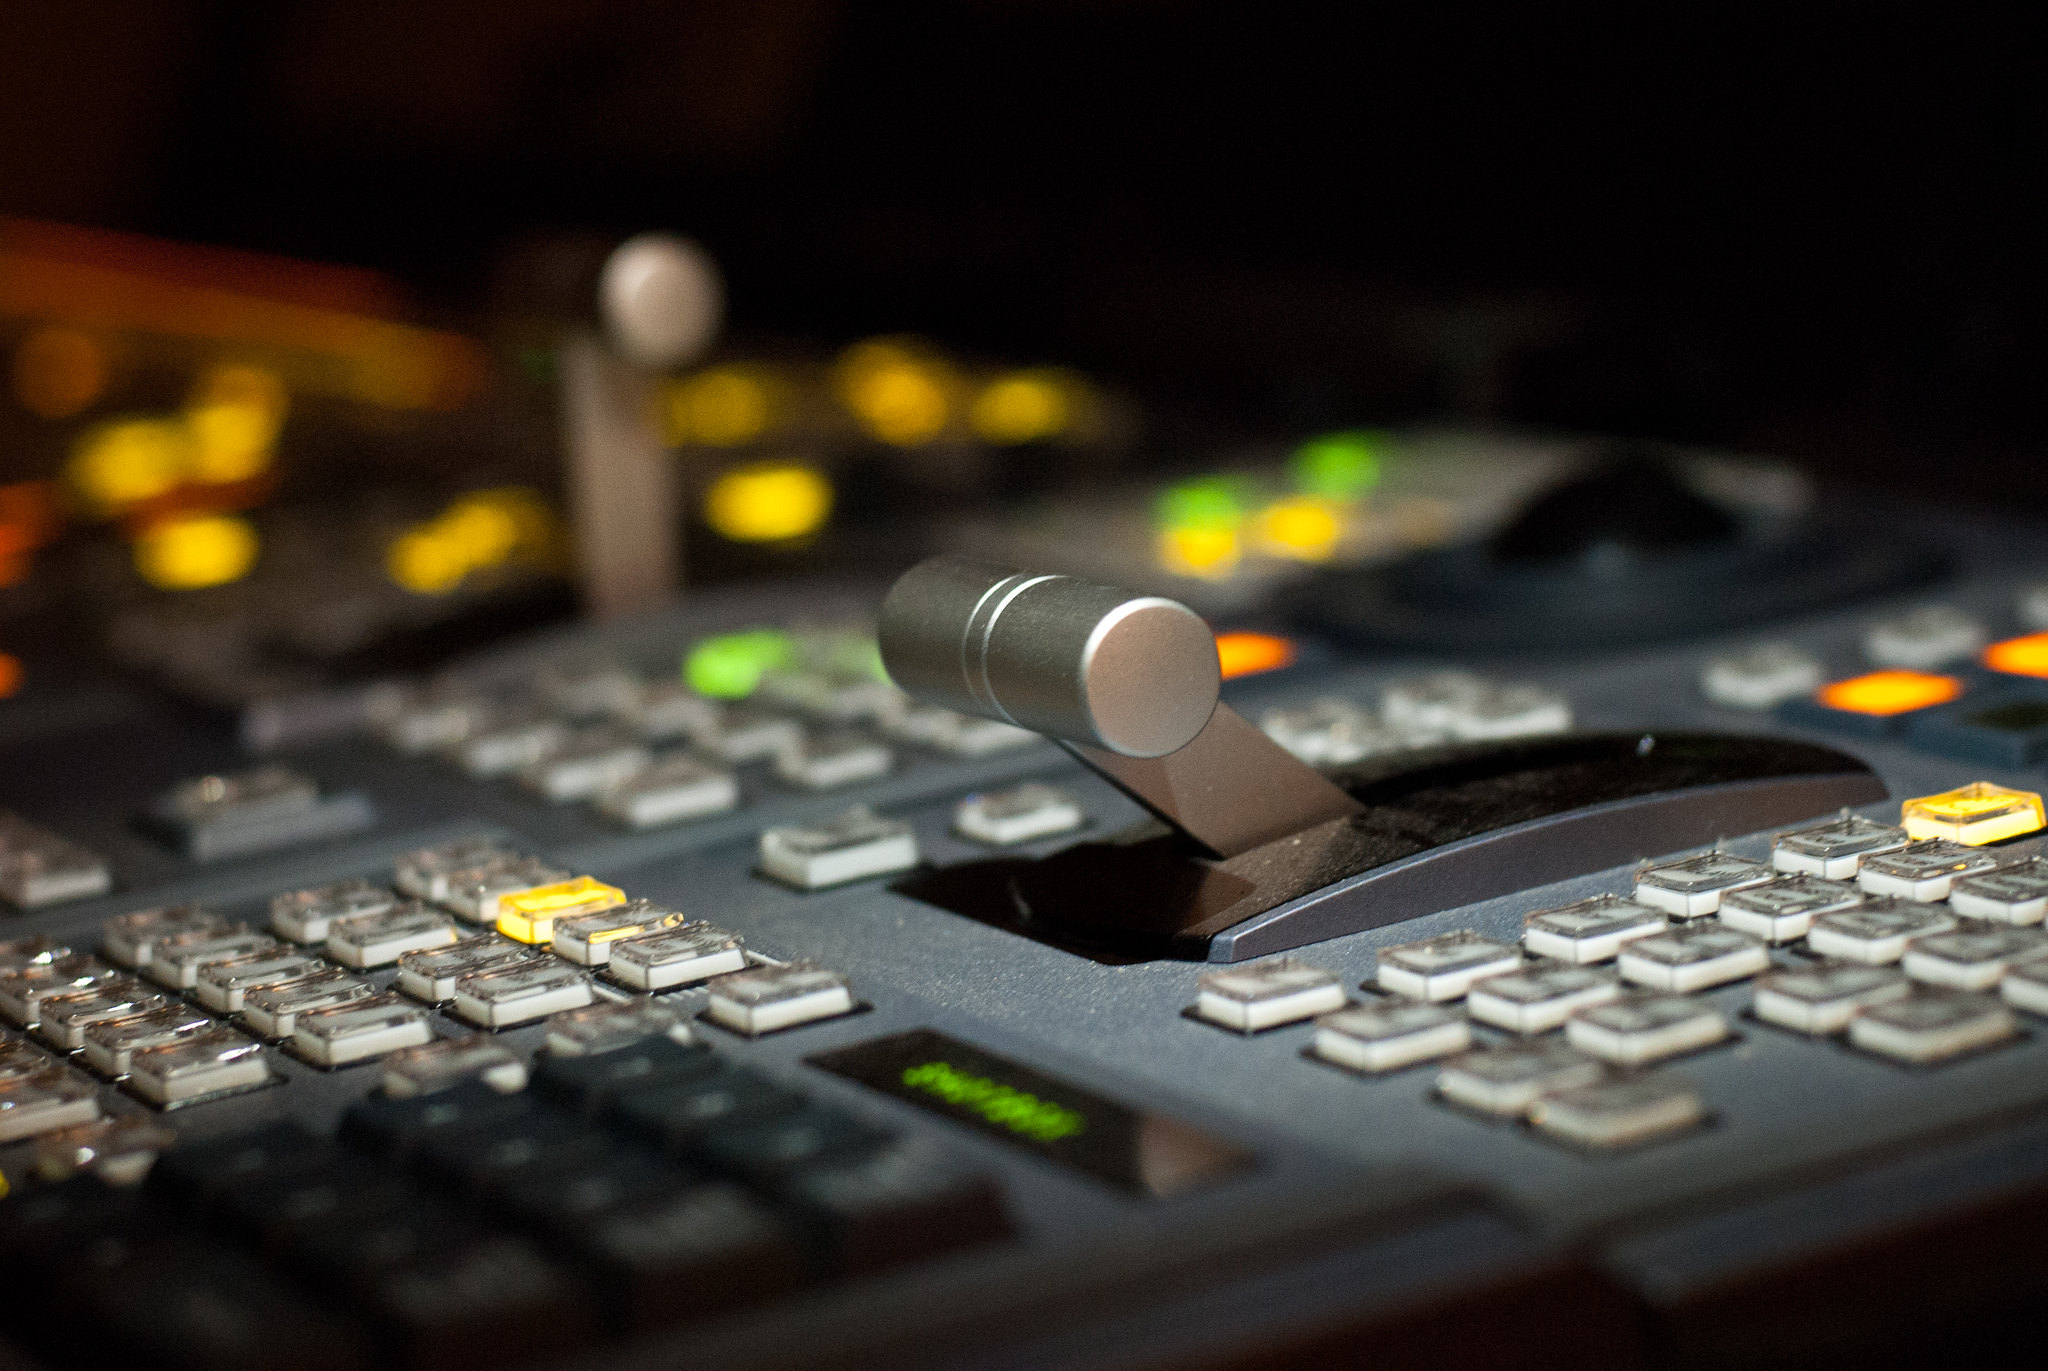
The title of this post is a bit misleading, since it’s meant to be a reference to the main telecommunications control room where I work at Oklahoma State University, but the picture itself is in fact showing one of the nearby video editing bays. It’s where members of our production staff monitor incoming video feeds, edit live and recorded footage, and work to produce polished final content. Each bay contains a board similar to this one but a lot bigger, and allows editors and producers to perform all manner of complex edits in realtime. Every time I walk past one of the edit bays I can’t help but reminded of the Death Star Control Room, especially since they seem to shave several common elements such as the lever you see in the picture. What does it do? I honestly have no idea, but it sure does look cool.
Getting this picture was a bit tricky and involved a bit of help from my coworkers Gina and Kristi. My goal for the shot was to show one control lever within the larger context of the entire edit board, and also illustrate the many other buttons and readouts at the same time. I took a few shots at f/1.8 but the depth of field was simply too shallow and I didn’t like how the row of lights behind the lever spread out like a long yellow fan. There was one other major problem too: the lighting.

This picture is simply too cluttered, and there is no clear focal point on which the viewer is supposed to focus. What’s the point here? Is it the lever, the rows of lights in the back, or the green and yellow buttons in the foreground? My solution was simple: Have Gina and Kristi help me alter the lighting conditions just a bit. We found another lever that was in the opposite position (I wasn’t about to go pulling levers or pushing buttons on my own), Gina held my iPhone on Flashlight mode above and just behind the lever, and Kristi helped me with some tips on positioning. The added light allowed me to shoot at f/2.8 (albeit with a still-very-slow-for-handheld shutter of 1/20 second) and helped bring the focus of the picture squarely on the lever. I really like the final result, and looking at it makes me think just for a bit that I’m on a giant spaceship in a galaxy far, far away…

Julien says
Thanks for posting your pictures. It is always a pleasure to watch your photos and to read your comment about it. Keep it up !
Simon says
Thank you Julien! I’m glad you enjoy them!
David says
Simon —
Interesting work today. I appreciate much more that, in many/most cases, you need to work with light and composition to achieve a pleasing picture. I see the “rim effect” caused by the iPhone flashlight. Nicely done! I need to also realize that you can get great ‘bokeh’ with the shutter at 2.8 – don’t have to always want to be at 1.4 or 1.8. Thank you for your post today. I will bring that D7100 to the office!
Simon says
Right on, David! I often think that to get a nice blurry background you need to open up the aperture as wide as possible…but as you point out that’s not always the case. I’m kind of a purist in that I don’t like a lot of manipulations when taking pictures, but I’m slowly coming to realize that manipulations aren’t bad in and of themselves and can actually be useful. I couldn’t take this shot with out more light, so I got more light. Nothing wrong with that at all :)