One of my favorite lighting techniques, at least for artistic or experimental shots, is to light my subjects from behind. It’s not something that’s altogether intuitive for me, as it goes against much of what I learned when I first started getting into photography years ago, but I have tried to pay attention to how a little (or a lot) of backlighting can elevate and transform a photo and lift the mundane into something extraordinary. Case in point: this coleus plant, which I came across while wandering around the OSU Botanic Gardens with my family and some friends on a Saturday afternoon in early September. There are dozens of these brightly-colored plants all around the gardens and while they certainly are cool to look at, they somewhat ironically do not always make great photo subjects. (Or perhaps I’m just not looking closely, or thinking creatively, enough. A challenge, perhaps? Hmm…) That was not the case here.
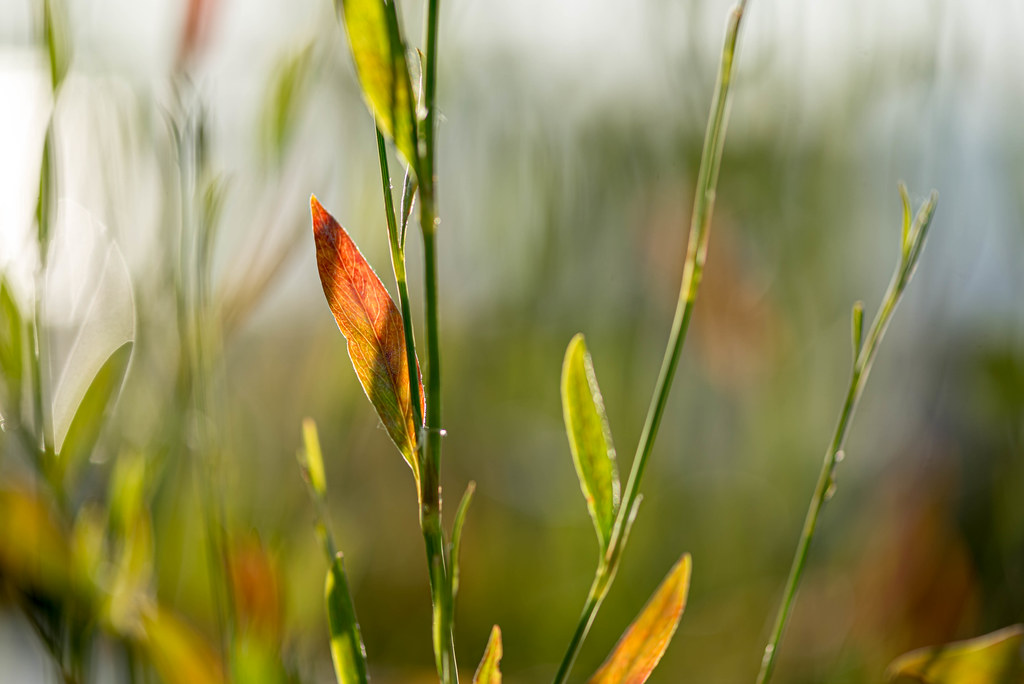
This particular coleus was practically aflame in the afternoon sun, with the light bounding off the edges of these leaves to create a silhouette that gives the entire composition a feeling of life and energy–almost like a flame twisting and writing as it makes its way upwards. I had my D750 and 105mm f/2.8 macro lens, which is an outstanding combination for an afternoon among nature, and once I had this shot in mind the next thing to consider was the aperture: Too small and the depth of field would be too wide. Too large and the edges of the leaf would not be in focus. I also had to consider the angle from which I was shooting, and the background behind the plant as well. Finally, I didn’t want to spend too long taking this shot because I also wanted to hang out with family and friends :)
I took this at f/19 which, while a bit smaller than I would have preferred, did help me meet my primary goals for the shot. I think a smaller aperture would have been possible with a bit more patience and experimentation, but again, time was of the essence. I do like how the border in the foreground of the leaf is (mostly) sharp and in focus while the back of the leaf is blurry, which shows just how crazy the DOF tolerances are when shooting close up. And this wasn’t even that close! This leaf, or rather collection of leaves, measures about five inches from left to right–certainly too big to be considered a macro shot, but a great example of how versatile a macro lens can be nonetheless.
In some ways this shot is an upgraded version of the sunrise image from last week, and even though the scale of the photos is entirely different the basic principles are kind of the same: lighting a subject from behind in order to get a glowing silhouette. It goes to show, or at least shows me anyway, that at the end of the day photography is often about the same basic principles that it always has been. It’s light and physics, and everything else is just details :)