Ok so let’s get one thing out of the way right upfront: I’m really not the most creative person when it comes to naming my pictures. If anyone has a better suggestion for this shot, please feel free to share it :)
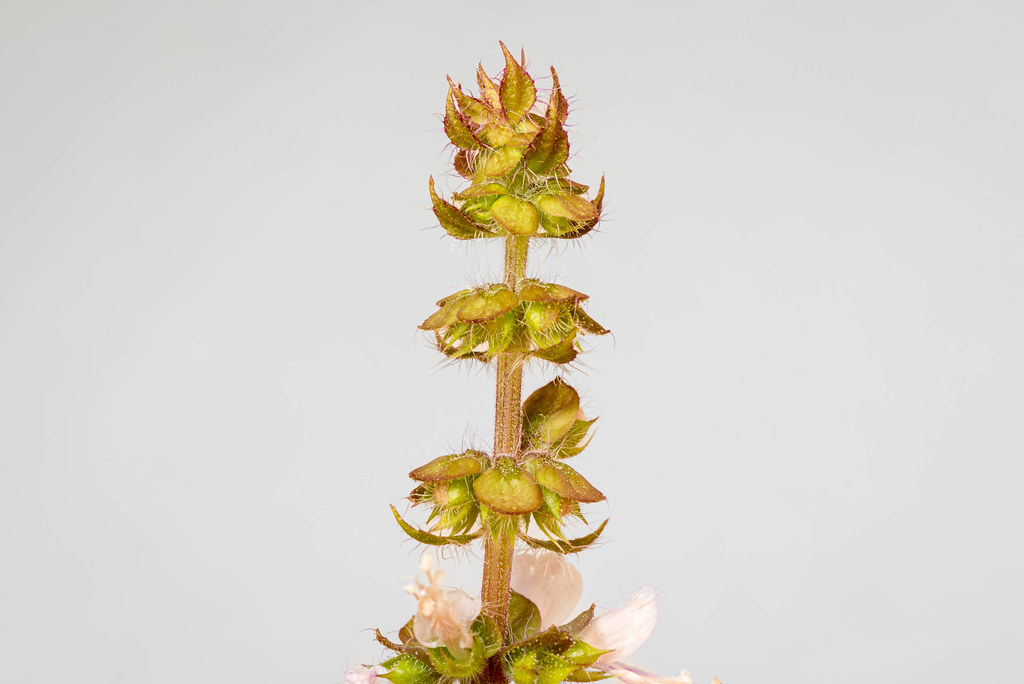
Alright so now that that’s out of the way, let’s get on to the picture. This is kind of a follow-up to last week’s shot of a green…um…something on a flower isolated against a uniform gray background. (I really don’t know much about flowers in case you can’t tell.) Today’s picture is from the same bunch of flowers that our neighbor picked from his garden and gave to us while we were out on a walk, and to get this shot I used some of the same techniques as last week but switched around a bit. Literally.
To get last week’s picture I used a giant translucent fold-out panel and put it between the plant and my main source of light, the kitchen windows. For this picture I moved my camera and tripod to the other end of the table so the window was behind me, which meant my subject was front-lit which is generally a good practice for most photos. Backlighting would have made no sense at all here. I raised up the central column of my tripod, aimed my camera down, put it in Live View, and focused manually until I got the composition you see here. And just for a sense of scale, the pink center portion ringed with curled yellow petals is smaller than a penny, which means depth of field had to be tightly controlled. I shot this at f/13 and even then you can see how razor-thin the area in focus actually was, and in order to get a clean image at ISO 100 it required a three-second exposure. No problem though–just set the self-timer to avoid any vibrations from my hand on the camera, and let the camera do the rest.
I took a bit of a break from macro photography this summer when we were traveling, but pictures like this remind me of how much I enjoy it and how eager I am to get back into it :)