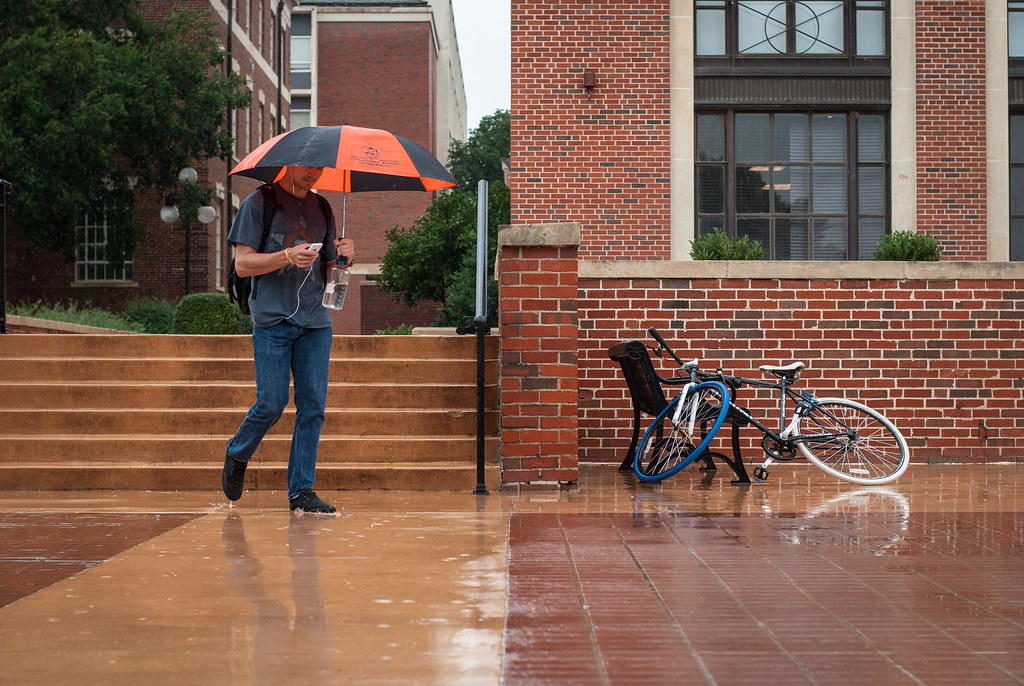
I shot this on a day when I really wasn’t looking for much in particular, but instead was mostly interested in taking a brief walk in the rain. Days like this are about as close to ideal as can be, at least in my humble opinion, and few things in life are more enjoyable than taking a stroll through the rain on a warm watery afternoon like this one. Since I had my D200 with me I figured I might look for a photographic opportunity, though that was not exactly my goal per se. I strolled around campus for a few minutes taking in the rain and slight breeze, and as I was on my way back to my building I saw this lonely bike sprawled out on the sidewalk chained to a bench. My thoughts went to the poor owner who, no doubt, was caught unprepared in the precipitation and rushed to chain his or her bike to the nearest stationary object until the downpour abated. Thankfully some people soon wandered past, including this fellow who was sporting a campus-themed umbrella to augment his college-style attire, and I was able to snag the photo you see here. I hope Mr. College Dude got to his destination safe and dry, and I hope for many more days like this one in the coming weeks and months.
Deconstruction
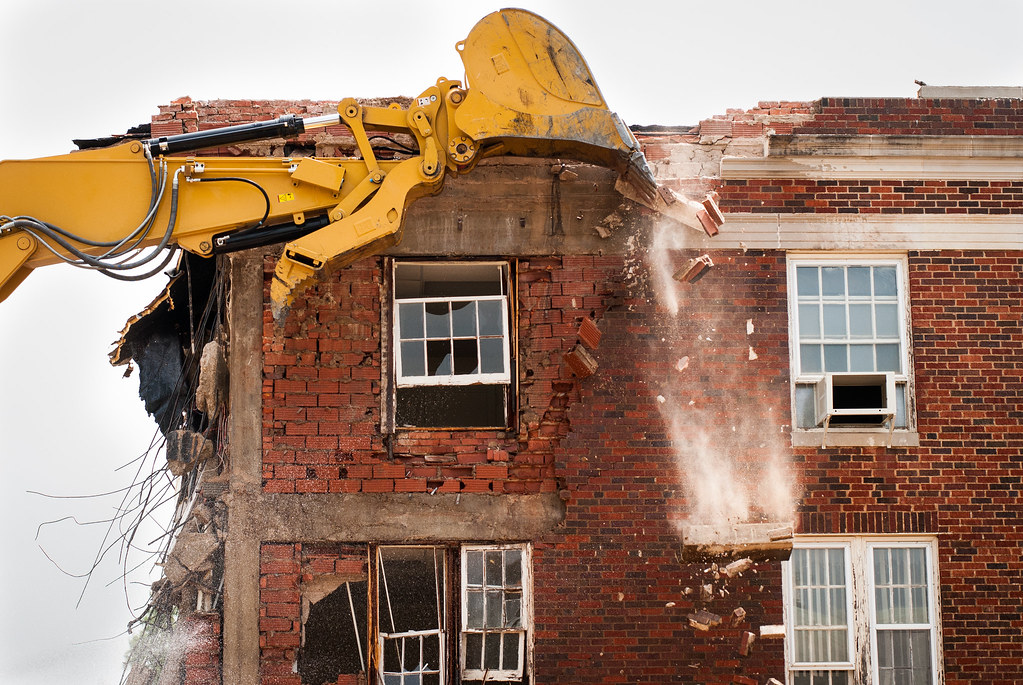
This photo is a good example of the limitations of a 50mm lens on a crop-sensor camera*. I went to see a demolition crew tear down a building on campus recently, and brought my trusty D200 and 50mm 1.8G to document the experience. Thankfully I had my iPhone as well, because there was just no way to realistically show the scale of the destruction with that particular body/lens combination. With the limited field of view offered by this lens, I would have had to stand way, way back from the building in order to get enough of the action in frame. For example, this photo was taken from across the street, and while it is kind of interesting there are many things it does not show: the building, the excavator, the existing rubble, the crews of workmen, and the spectators. In other words, there is almost no context for the image, which severely limits its utility. My iPhone, by contrast, was able to capture the full scale of the scene with remarkably clear detail.
However, the challenge that every photographer faces is to work within his or her limits in order to produce the best images possible. My solution was not to walk a block away and try to squeeze everything into my DSLR’s field of view, but to re-think the situation entirely. How could I utilize composition, framing, lighting, and other elements of photography to capture a compelling picture? While my iPhone was fine for a large-scale view of the situation, I decided to use my D200 to capture a more intimate and personal image instead. The open maw of the excavator looks almost like a massive jaw, ready to consume whatever stands in its way. The debris falling on the right side gives the viewer (I hope, anyway) a sense of motion and controlled chaos. Decaying window frames and the shell of an A/C unit speak to the overall poor state of the building. And the torn-out wreckage spilling forth on the left-hand side teaches the viewer the sheer power of the wrecking forces at work. Clearly the excavator has been busy, and has much left to do.
That’s my hope for this picture, anyway. I’m not sure if it works and conveys everything I want it to, but if nothing else I at least got to watch a building get destroyed. And photographs or not, it sure was cool.
*A simple Google search will turn up all kinds of information on crop vs. full frame, but this video does a better job of discussing the matter than most I have seen.
Possession
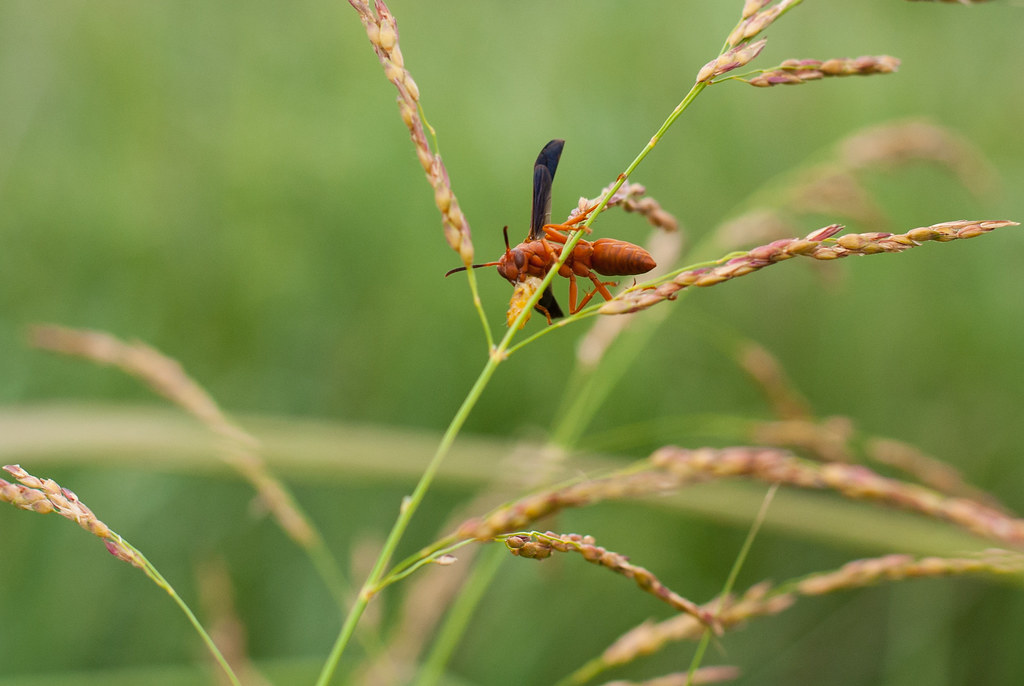
One thing about wasps, bees, and other flying stinging insects that I have realized while out with my camera is that, in general, they aren’t really interested in harming you. Mostly they just want to go about their business and let you do the same, and it’s only if they feel imminently threatened that they will take more serious action…such as fly away. If push comes to shove they will sting you, but it’s generally as a last resort. So when we took our kids to a local marsh-slash-wetlands area recently, we saw this little fella walking around some grassy tufts and generally keeping a bit of a distance from us while we moseyed on past. I wanted to get a closer look though, and carefully poked my 50mm lens a bit closer than what I thought was advisable, and it was then that I realized he was carrying something in his formidable mandibles. He turned and gave me an imposing glare, as if to say “This is mine, and don’t think about coming an inch closer.” I snapped a few shots, backed up a bit, and parted the grass a bit so my son could see the wasp as well. We watched him as he stared back us, each party giving the other a healthy dose of respect and a wide berth. Soon we went on our way, he went his, and though I might never know what this wasp had in his mouth or where he was going, I’m glad that we got to catch a little glimpse into his afternoon.
Thirst
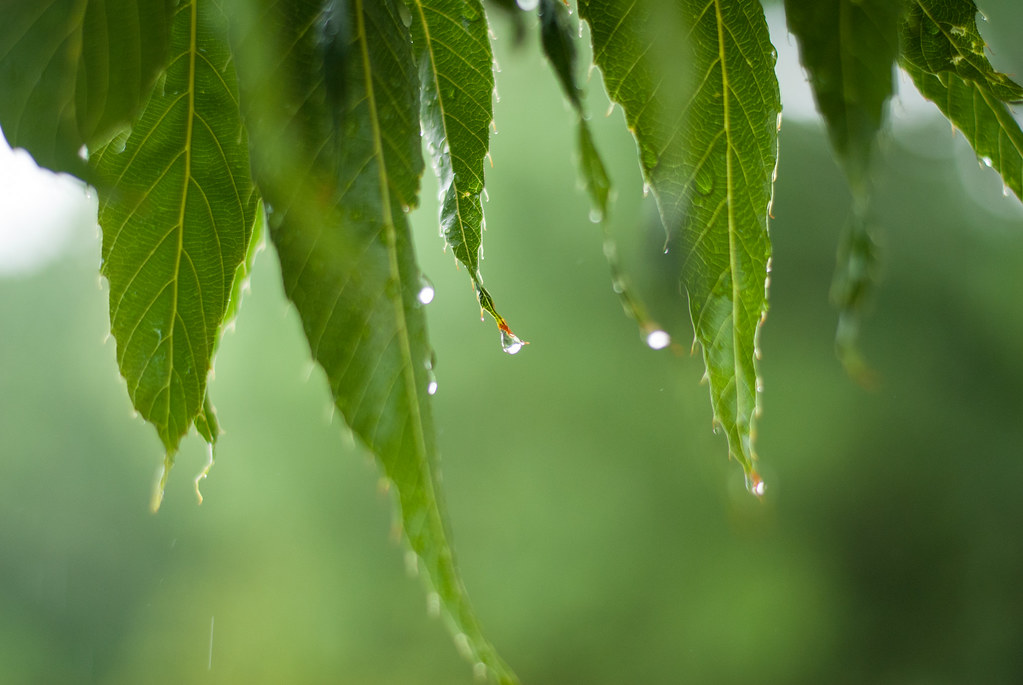
This photo is somewhat of a companion to the one I posted on July 23, titled “After the Rain.” The original was sort of a proof-of-concept, since I had not really taken a picture like it before, and during a subsequent rainstorm I wanted to go out and see if I could get another one like it. Well, to be honest, I wasn’t actively seeking a photo opportunity–I just wanted to go out for a brief walk during a peaceful morning rain, the likes of which we have not seen here in Oklahoma in several years. But since I had my D200 with me I figured I might as well see if I could get a picture or two. After a few minutes I saw this cluster of leaves with crystal drops clinging to the tips, and got a few shots from a couple different angles. I was not expecting much, but I quite like what I was able to capture. I shot this at f/1.8 which gave a nice sense of foreground and background due to the shallow depth of field, and at 1/200 of a second I was able to (unintentionally, mind you) catch a few raindrops streaking towards the ground in the bottom-left corner of the picture. I like the sense of life and motion at work here, but there’s something else fairly unique: the subject is directly in the middle of the photo. If you look at my images here you will notice that more often than not, I place the subject on the left or right side. But this time the focal point is right in the center, and I kind of like it. I did not crop this at all, and applied only a few color tweaks in Lightroom. I guess it just goes to show you never know when a photo opportunity might strike.
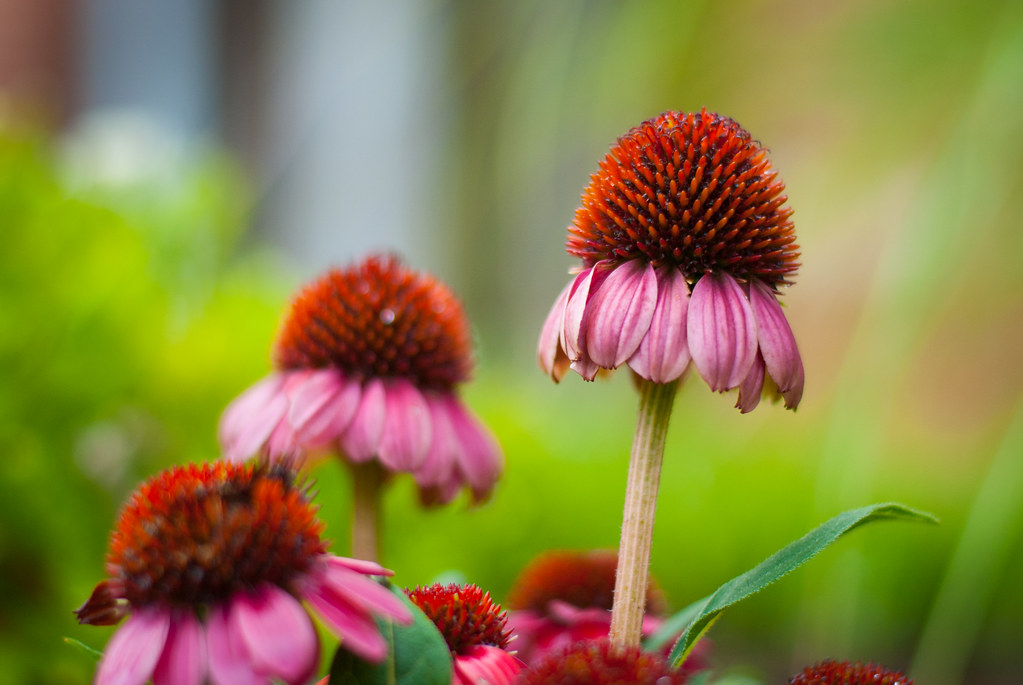
Coneflower
My friend Julie has a blog called Ramblings from Jewels where she is always posting pictures of flowers and other plants, often from her own garden. Looking through her images inspired me to take some shots of flowers on my own, since I don’t do that sort of thing very often. I’m not really sure why, either. Part of me thinks it’s a bit cliché to go around snapping photos of flowers because, well, flowers are everywhere and surely I can’t add anything to the collective photographic pool that hasn’t been seen before. And yet, when I see some of the pictures that Julie and others post, I start to think maybe I can have my own original take on flowers too. Anyway, I went out to shoot some a few days ago and ended up with this, which I was not pleased with at all. It was mid-day, the sun was shining, and as a result this picture was filled with harsh shadows and washed-out colors. I went back a few days later when it was nice and cloudy, and got the one you see above instead, with which I am quite pleased. It did take a bit of tinkering in Lightroom to bring out some of the colors and vibrancy (yay for shooting in RAW!) but man, I’m telling you, no amount of post-processing can fix an image that’s just bad to begin with. Practice, practice, practice, I tell ya.
